Интеграция с VMware vSphere
Важно
Для дальнейшей подключения и настройки интеграции необходимо создать отдельную техническую учётную запись (ТУЗ) с определёнными правами.
Перечень необходимых прав для ТУЗ:
-
Cns
- Searchable
-
Virtual machine
- Change Configuration
- Acquire disk lease
- Add existing disk
- Add new disk
- Add or remove device
- Advanced configuration
- Change CPU count
- Change Memory
- Change Settings
- Change Swapfile placement
- Change resource
- Configure Host USB device
- Configure Raw device
- Configure managedBy
- Display connection settings
- Extend virtual disk
- Modify device settings
- Query Fault Tolerance compatibility
- Query unowned files
- Reload from path
- Remove disk
- Rename
- Reset guest information
- Set annotation
- Toggle disk change tracking
- Toggle fork parent
- Upgrade virtual machine compatibility
- Edit Inventory
- Create from existing
- Create new
- Move
- Register
- Remove
- Unregister
- Guest operations
- Guest operation alias modification
- Guest operation alias query
- Guest operation modifications
- Guest operation program execution
- Guest operation queries
- Interaction
- Answer question
- Backup operation on virtual machine
- Configure CD media
- Configure floppy media
- Connect devices
- Console interaction
- Create screenshot
- Defragment all disks
- Drag and drop
- Guest operating system management by VIX API
- Inject USB HID scan codes
- Install VMware Tools
- Pause or Unpause
- Perform wipe or shrink operations
- Power off
- Power on
- Record session on virtual machine
- Replay session on virtual machine
- Reset
- Resume Fault Tolerance
- Suspend
- Suspend Fault Tolerance
- Suspend to memory
- Test failover
- Test restart Secondary VM
- Turn off Fault Tolerance
- Turn on Fault Tolerance
- Provisioning
- Allow disk access
- Allow file access
- Allow read-only disk access
- Allow virtual machine download
- Allow virtual machine files upload
- Clone template
- Clone virtual machine
- Create template from virtual machine
- Customize guest
- Deploy template
- Mark as template
- Mark as virtual machine
- Modify customization specification
- Promote disks
- Read customization specifications
- Snapshot management
- Create snapshot
- Remove snapshot
- Rename snapshot
- Revert to snapshot
-
Datastore
- Allocate space
- Browse datastore
- Low level file operations
- Remove file
- Update virtual machine files
- Update virtual machine metadata
-
Folder
- Create folder
- Delete folder
- Move folder
- Rename folder
-
Global
- Cancel task
- Log event
- Set custom attribute
-
Host
- Local operations
- Create virtual machine
- Delete virtual machine
- Reconfigure virtual machine
-
Network
- Assign network
-
Resource
- Apply recommendation
- Assign vApp to resource pool
- Assign virtual machine to resource pool
- Create resource pool
- Migrate powered off virtual machine
- Migrate powered on virtual machine
- Move resource pool
- Query vMotion
- Remove resource pool
- Rename resource pool
-
Scheduled task
- Create tasks
- Modify task
- Remove task
- Run task
-
Sessions
- Validate session
- View and stop sessions
-
Profile-driven storage
- Profile-driven storage view
-
Tasks
- Create task
- Update task
-
vApp
- Add virtual machine
- Assign resource pool
- Assign vApp
- Clone
- Create
- Delete
- Export
- Import
- Move
- Power off
- Power on
- Pull from URL
- Rename
- Suspend
- Unregister
- View OVF environment
- vApp application configuration
- vApp instance configuration
- vApp managedBy configuration
- vApp resource configuration
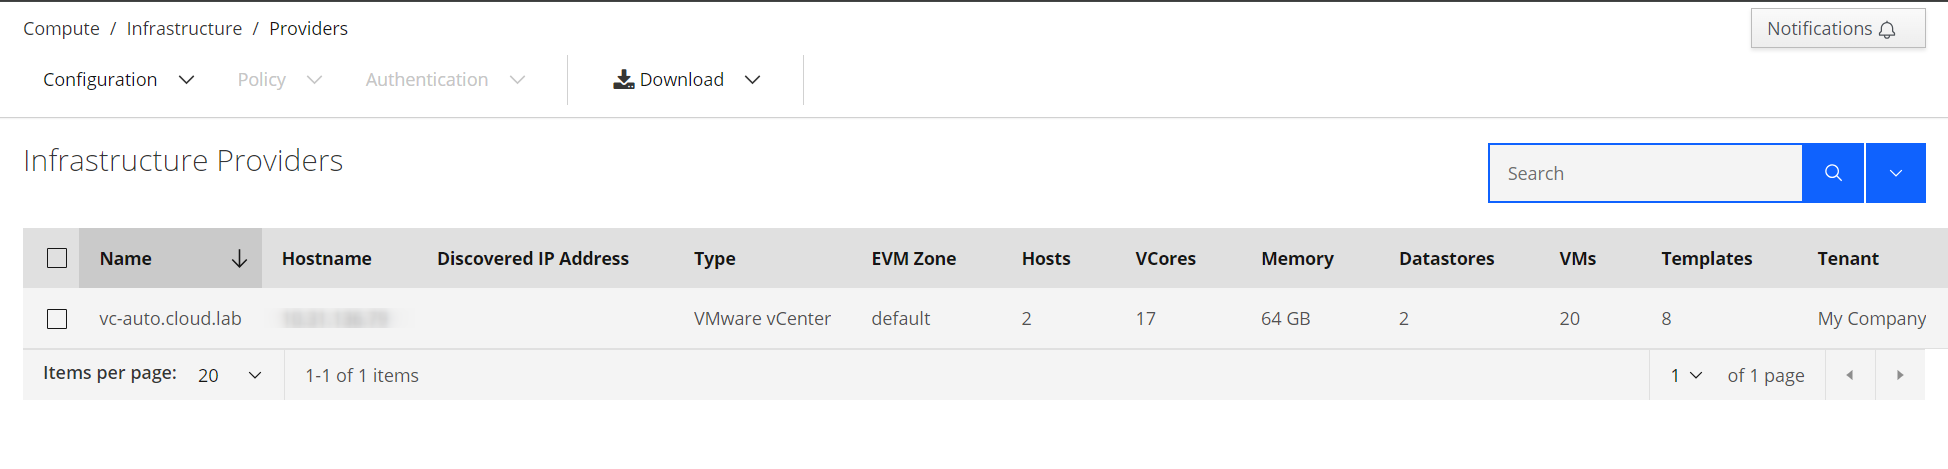
Чтобы использовать провайдер VMware vSphere необходимо настроить подключение Нимбиус к vCenter:
- Перейти общем меню в раздел: «Compute -> Infrastructure ->Providers»;
- Нажать кнопку «Configuration»;
- Нажать кнопку «Add a New Infrastructure Provider»;
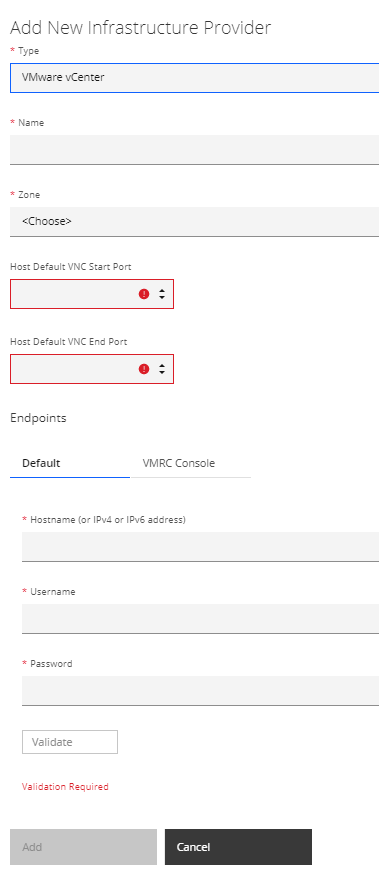
- Указать имя провайдера и выбрать из списка «VMware vCenter»;
- Указать hostname или IPv4/IPv6 address провайдера;
- Выбрать зону для провайдера;
- Заполнить поля «Host Default VNC Start Port» и «Host Default VNC End Port» (Этот диапазон портов используется для удаленного доступа к консоли с помощью VNC);
Примечание
По-умолчанию указываются порты: Host Default VNC Start Port (40000) и Host Default VNC End Port (45000).
- В поле «Credentials» указать учетные данные провайдера в формате
«*@vsphere.local»или«*@example.com»; - Нажать «Validate» для проверки соединения;
- После успешной проверки, нажать кнопку «Save».
Пример успешного подключения провайдера